Sketching
Start a new project.
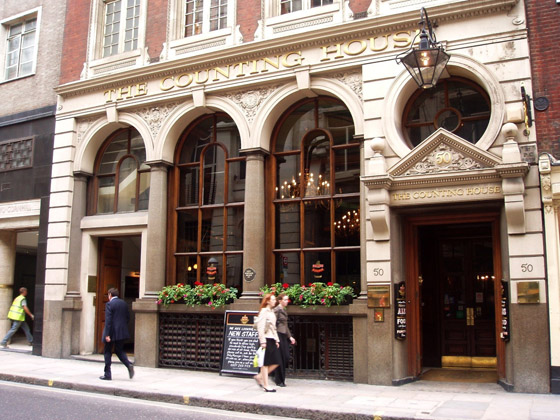
This is the Original Photo used for this tutorial.
Choose the biggest possible brush:
Select the «Autopaint» Tool:

Now apply it over the whole image:
This is the result after 50 steps:
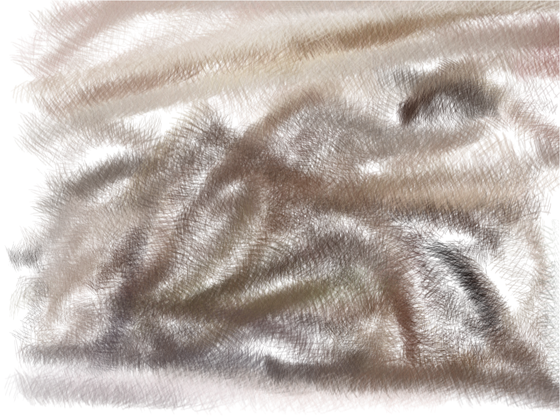
This is the result after 200 steps:
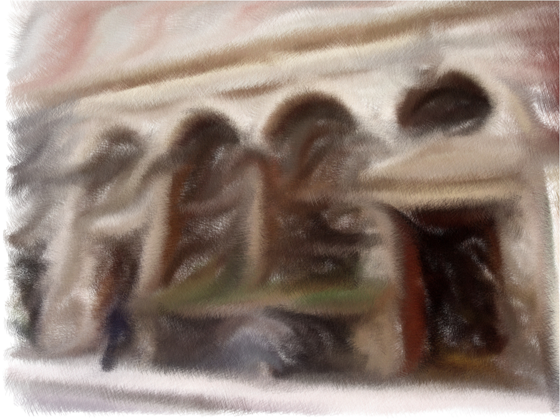
Now, make smaller the brush size, and apply it over the whole image.
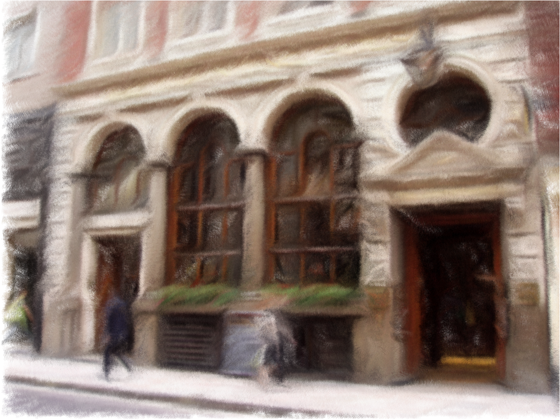
Finally, choose smaller values for Width and Height, and apply it manually over the whole image:
This is the final result before drawing the sketch lines.
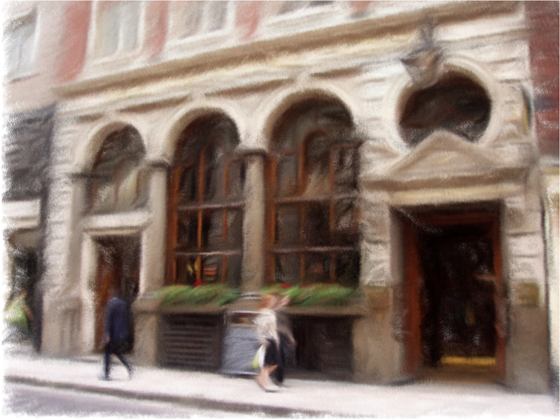
Now select the FreeHand Tool and draw the sketch lines over the most significant contours.
Keep in mind the following hits:
Drawing Straight Lines:

To draw straight lines keep the Shift key pressed while you move the pointing device (mouse, pen, etc.)Deciding the color by yourself :
By it’s nature GMX-PhotoPainter always takes the color from the original image, however you can choose your own color:- Choosing the Color:
Select the desired color by clicking on the color palette or add your custom color. Play with the Color Mixer:
If the Color Mixer is to the left it will use the Selected Color.
If the Color Mixer is to the right it will use the color sampled from the Original Image.

- Choosing the Color: