Pen & Ink Tutorial
How to Convert an Image into a Pen&Ink Drawing
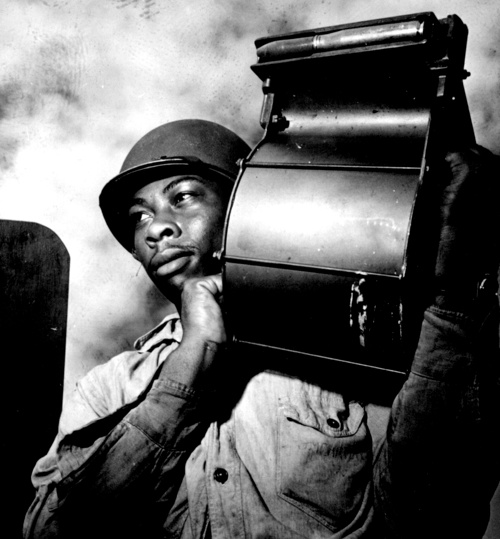
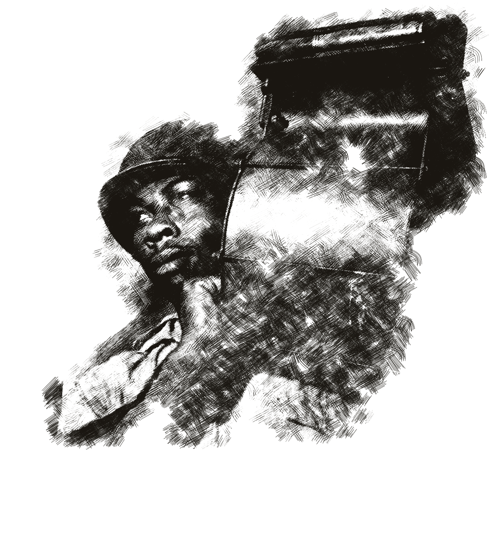
Locate the Original Image:
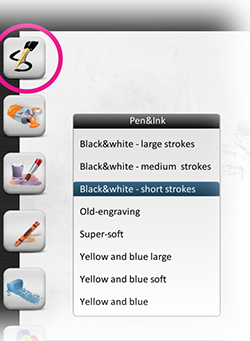
Select a Pen&Ink Style
You can choose Black&White – Large, Medium, or Short. It doesn’t really matter which one because we are going to modify it.
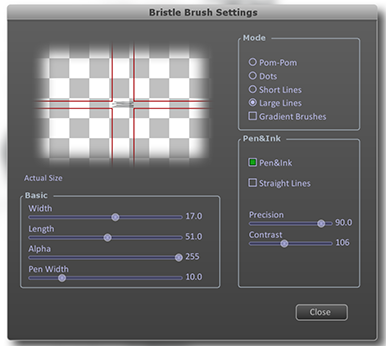
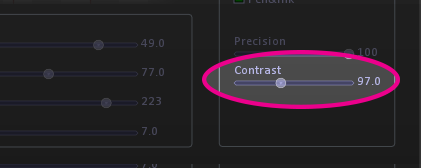
Modify the Style with the following settings:
Select the Pattern Tool
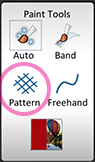
Apply the Pattern Tool over the Image
Select the AutoPaint Tool
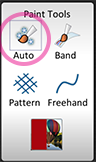
Apply the AutoPaint Tool over the Image
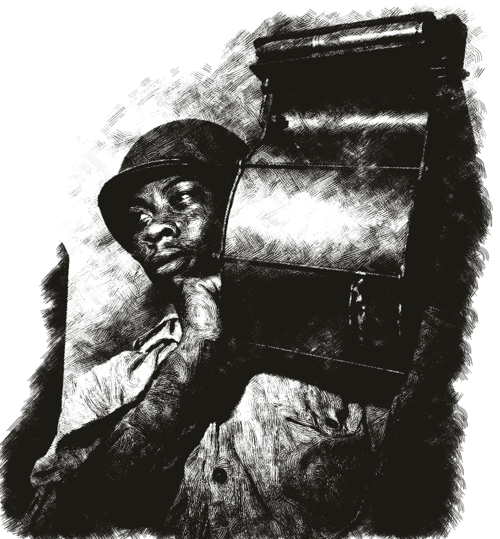
Apply it over the face and arms, this is the final result:
Creating your Own Pen&Ink Style
Follow the procedure to create a new Style, but:
- Select Algorithmic Brush (Bristle Brush) in step 3.
- Be sure to set on the setting “Pen&Ink” in step 5.
The rest of this section show the parameters and values that affect the Pen & Ink Mode:
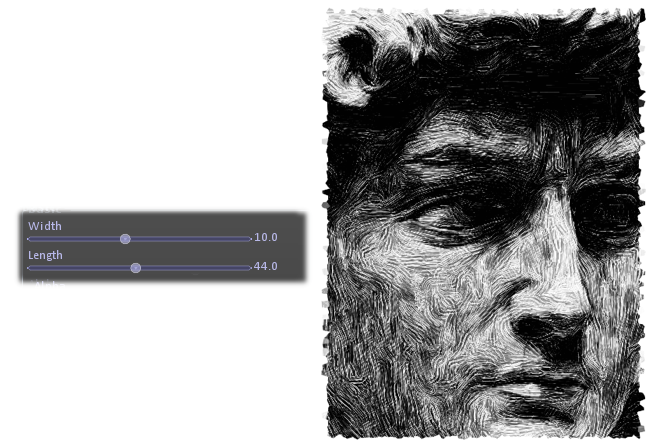
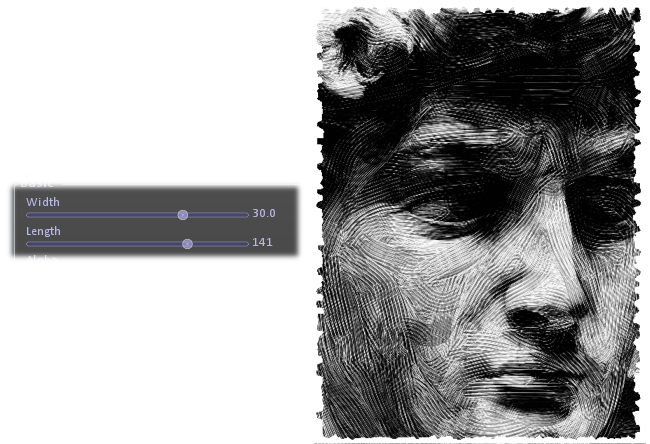
Width and Length
In contrast with the rest of the painting styles, Setting small values for Width and Length does not add more detail to the Painting. On the opposite, setting big values will create more uniform and tidy brushstrokes.
Example 1: Small brushstrokes
Example 2: Large brushstrokes
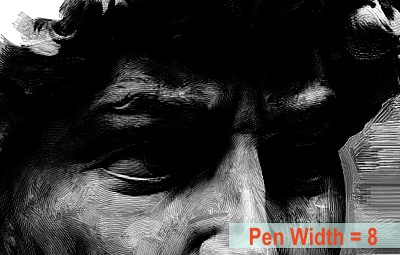
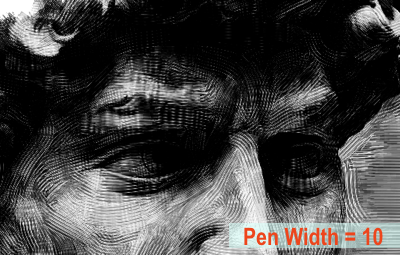
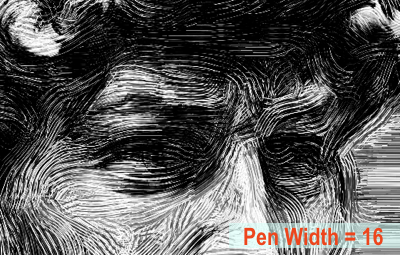
Pen Width
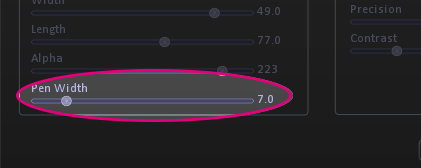
The following sequence of images show the effect of the “Pen Width”.
Big values produce rough results, but very small values tends to copy the original.
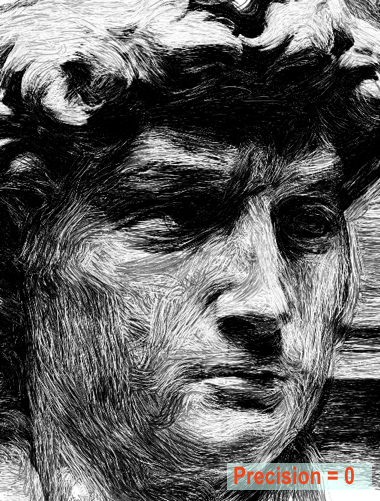
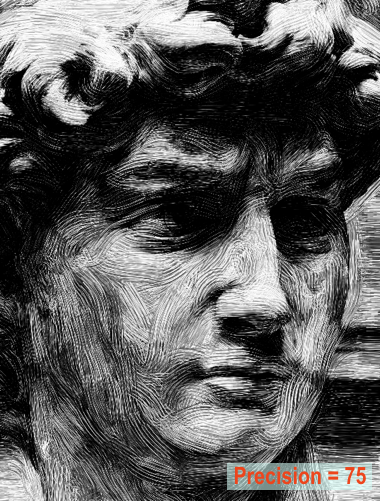
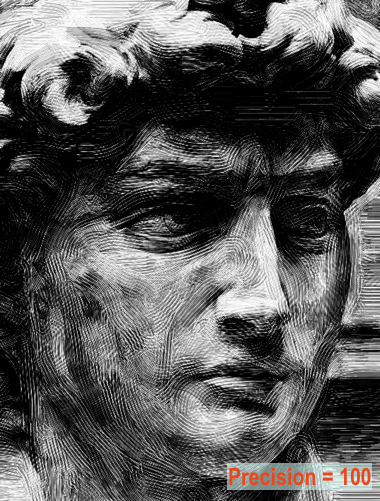
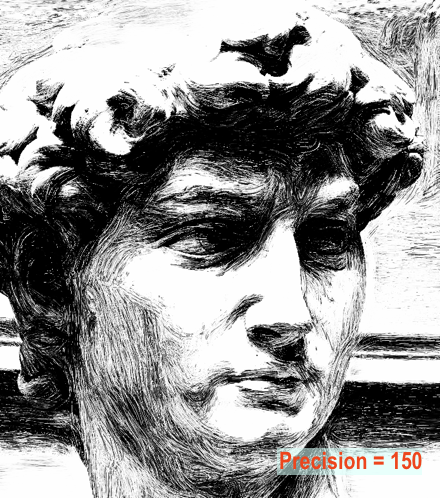
Precision
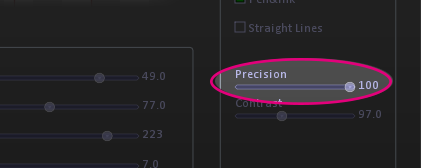
More precision will produce tidy and aligned brushstrokes. The following sequence of images show the effect of the “Precision”.
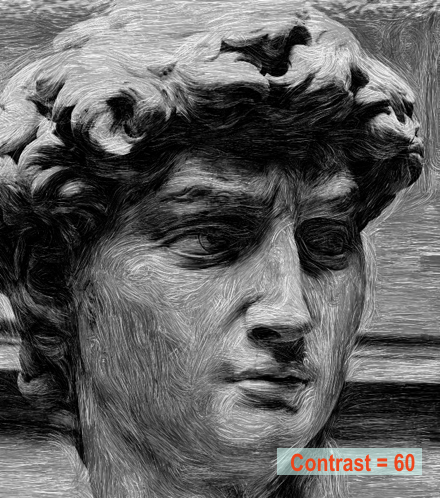
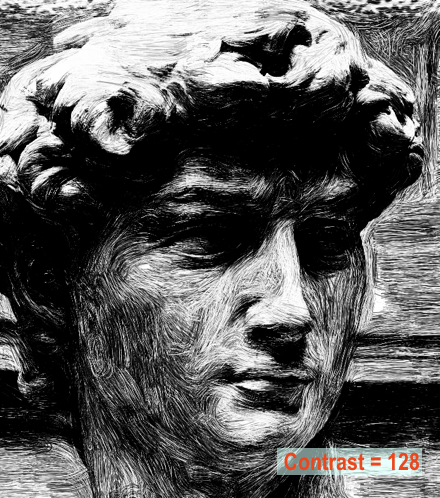
Contrast
Low contrast values will result in more softer images . The following sequence of images show the effect of the “Contrast”.
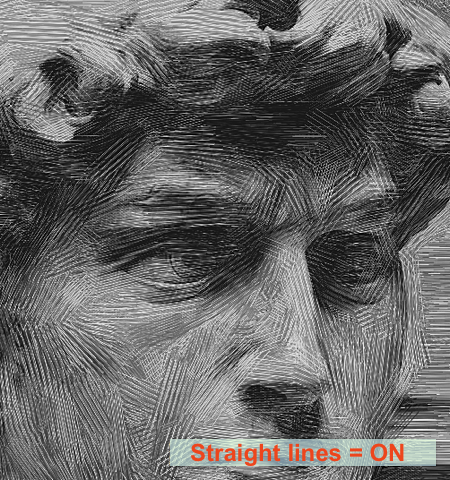
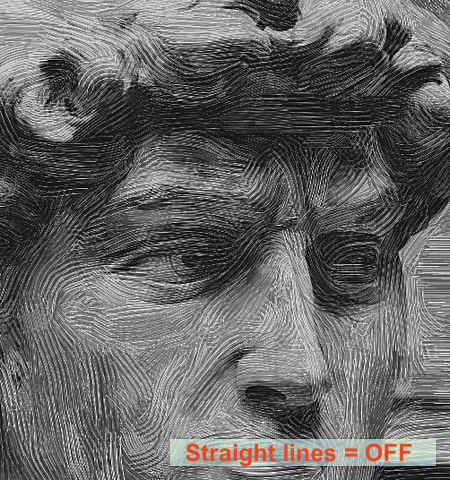
Straight Lines
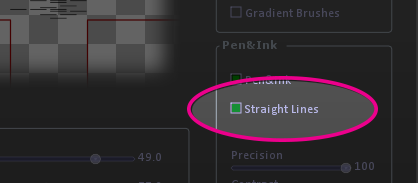
If you check on this option, the results will resemble old engravings.
Pen&Ink in Colors
By choosing “Duotone” color mode in the Color Step of the wizard you will be able to select different colors.
The default for Pen&Ink is Black&White.
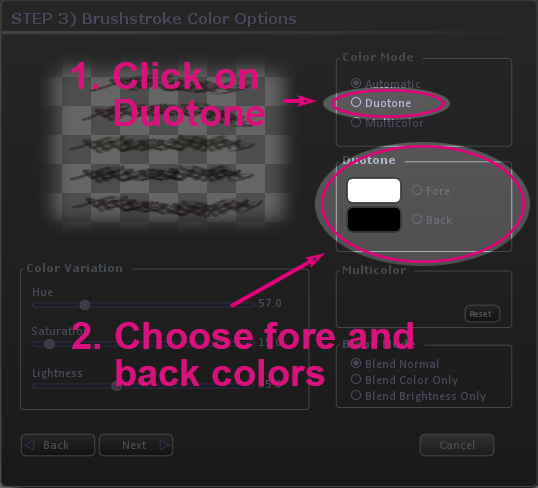
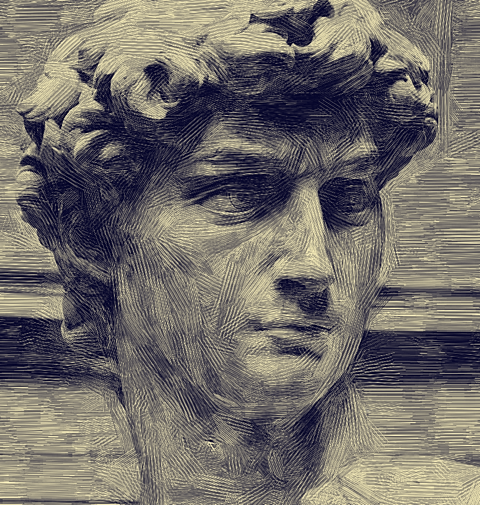
By choosing different colors in Back Color and Fore Color you can obtain interesting results:
Video Tutorial
The following tutorial shows step by a step a complete painting done in Pen&Ink: