GMX-PhotoPainter – Quick Start Guide
Create Paintings Easily From Your Photos in This Step by Step Guide!
Let’s Get Started
Start New Painting from Image:
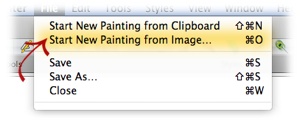
Locate the Original Photo you want to Convert to a Painting:
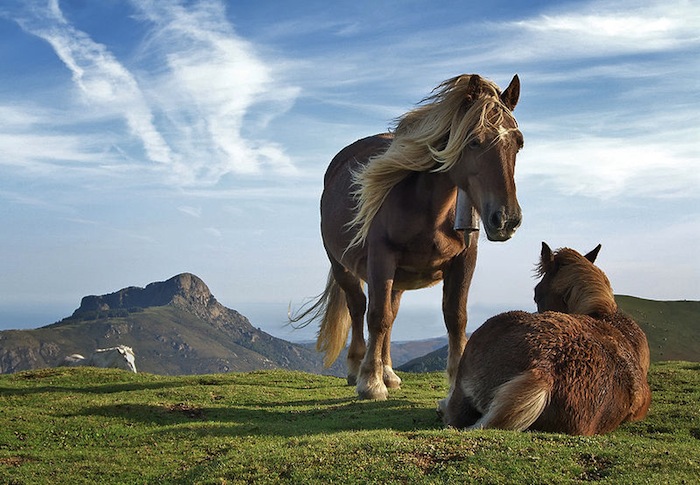
This is the original photo: Distributed under Wikimedia Commons Licence
After having chosen the original image, the following project dialog box will appear:
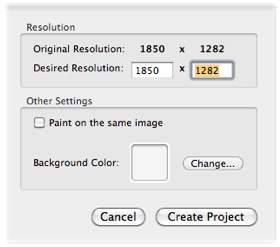
Select “Create Project” and wait a few seconds:

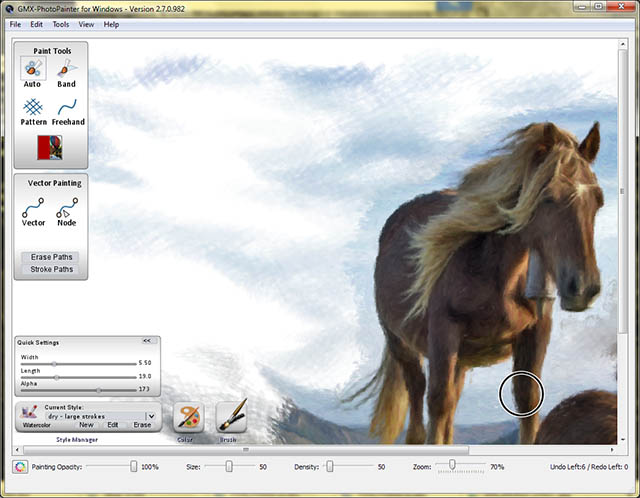
This is the screen after the project is loaded:
Adjust the zoom to see the entire image.
Choose Tool and Style
Now select a style:

Draw the First Brushstrokes
Now pass the pointer device, (mouse, pen, tablet, etc.) over the image, and watch the results!
Experiment with brush strokes and textures!
Detail your work with smaller brushes.
You just made a photo into painting with GMX-PhotoPainter!
Using the “Automated Painting” Feature
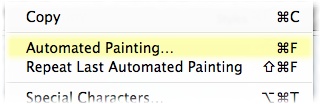
You can also “automatize” the repetitive work of applying the brush strokes over the whole image by selecting the option “Automated Painting” under the Edit menu:
You will see the following dialog box:
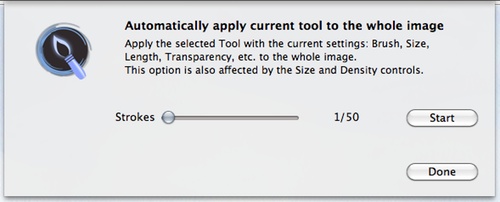
If you set too many strokes, it will take longer but will apply more brushstrokes creating more layers of paint on the image. You can stop and restart anytime to get the image just the way you like it!.
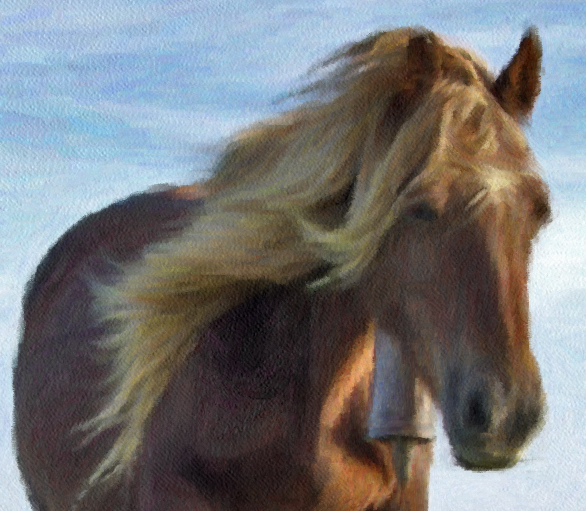
This is how the painting looks after 4500 paint strokes:

As you can see there is no details in the featured areas like ears, eyes, etc. This is because the size of the brushstroke is too big.
The section “Detailing your Image” will show you How to Add More Details to your Painting.
Original Image, and Transparency Control
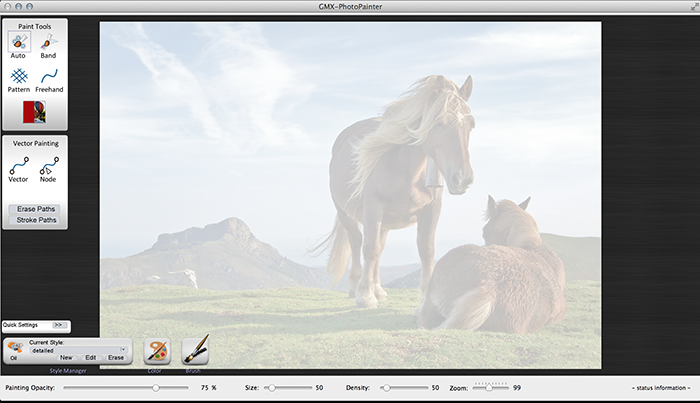
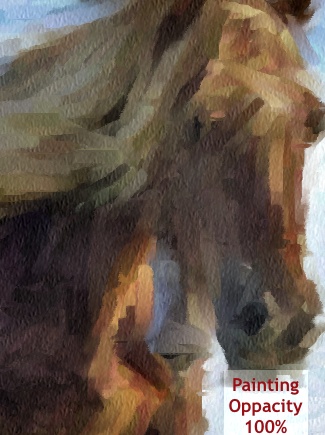
Digital paintings created with GMX-PhotoPainter are based on an original image or “Source Image” with a “Transparency Layer” on the top of it where you can create your painting. The slider, “Painting Opacity” controls the mixing of the original image and the actual painting, it is located in the lower left corner of the GMX-PhotoPainter shown below.

The following image is showing 100% Painting and 0% of the original image:
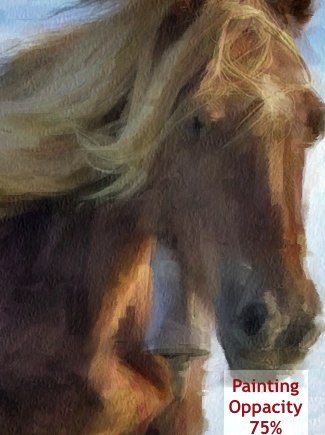
The following image is showing 75% Painting and 25% of the original image:
Detailing your image
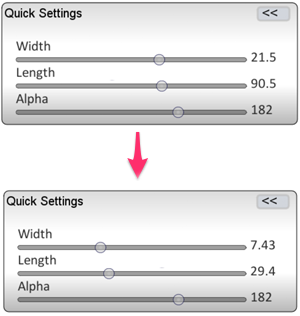
To add detail to your painting you need to choose smaller brushstrokes. This can be done by simply setting smaller values for both Width and Length.
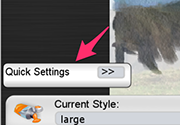
Click on the quicksettings button:
Then change the Width and Length as desired:
Now that you have selected smaller brushstrokes, you can apply the
“AutoPaint”  again over the image.
This is the result:
Tip!
More About Detailing Your Image
The level of detail is a matter of artistic taste, and vision. However here are some important tips: Add detail only where needed: 1. It is not necessary to use small brushstrokes over the whole image, you can select the areas where more detail is needed, such as eyes, ears, etc. 2. Do not duplicate the original: If you use too small brushstrokes, (such as, width = 4 , and length = 6), the result will tend to be a mere copy of the original 3. Play with the brush stroke transparency: The more transparent the brushstroke, the softer the result. 4. If you apply too soft brushstrokes, the result will be too “flat” and each brushstroke will not be visible.
Final Touches
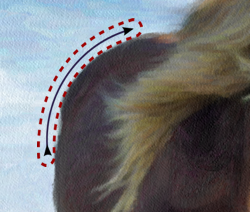
The painting is almost ready. To give a better finish to the edges of the painting, I will overlap a few brushstrokes over certain borders, but this time I will use the “Freehand” tool  .
.
The following illustration show how the freehand tool is passed along the image:
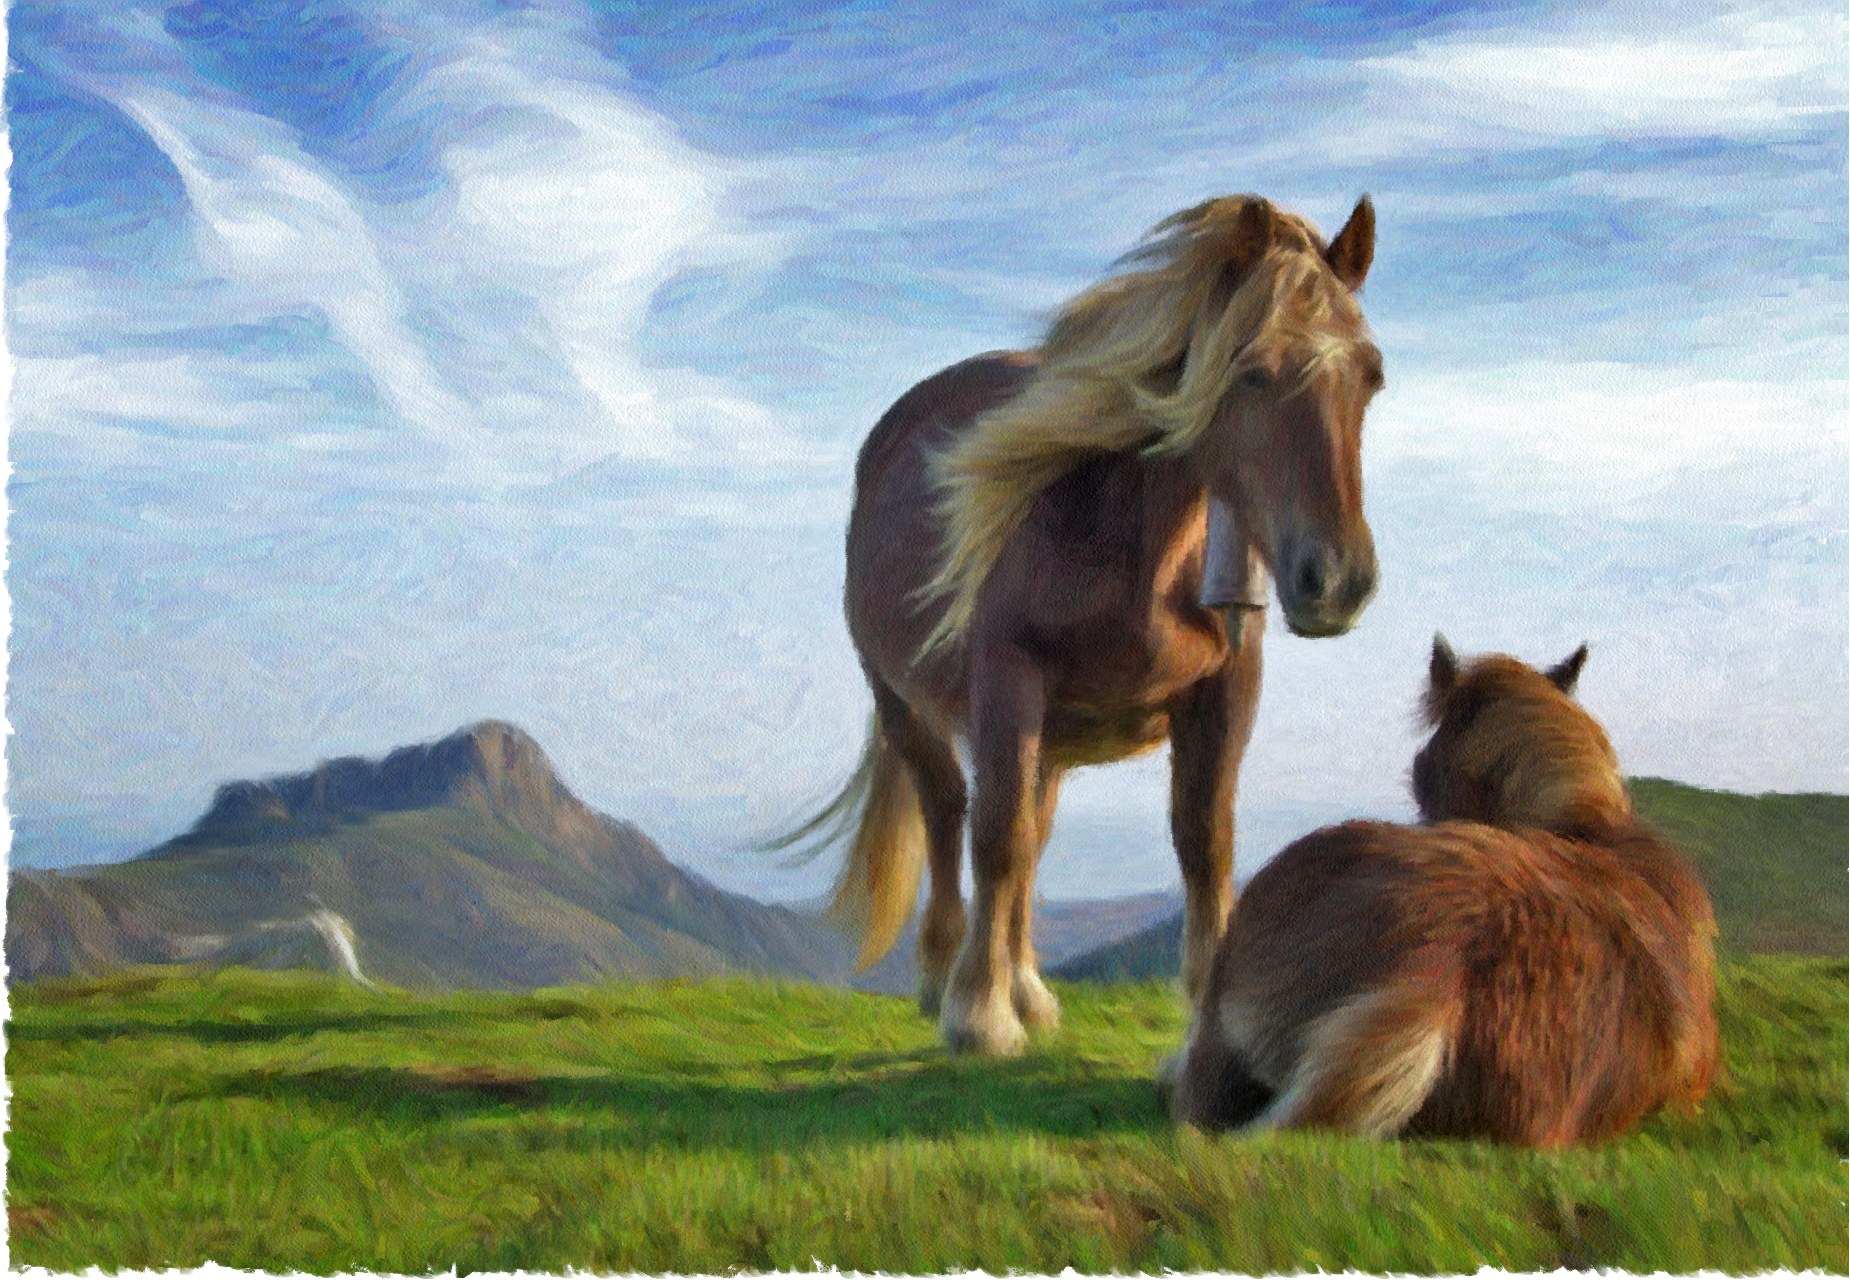
Final Result
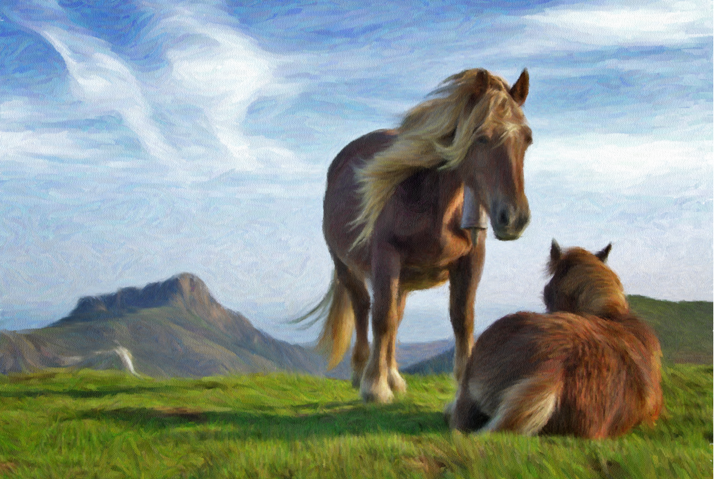
Final Result Full Res